Ikan RM3-43 User Manual

Browse online or download User Manual for Monitors Ikan RM3-43. ikan RM3-43 User Manual

  • Download
  • Add to my manuals
  • Print
  • Page
    / 2
  • Table of contents
  • BOOKMARKS
  • Rated. / 5. Based on customer reviews
Page view 0
RM3-43
Three 4.3" Rack Mount Unit QUICKSTART GUIDE
www.ikancorp.com 713-272-8822
CONDITIONS OF WARRANTY SERVICE
Free service for one year from the day of purchase if the problem is caused by manufacturing errors.
The components and maintenance service fee will be charged if the warranty period has expired.
Free Service will not be Provided in the Following Situations: (* Even if the product is still within the warranty period.)
• Damage caused by abuse or misuse, dismantling, or changes to the product not made by the company.
• Damage caused by natural disaster, abnormal voltage, and environmental factors etc.
3903 Stoney Brook Dr. Houston TX 77063. 1-713-272-8822, [email protected] © 2010 ikan Corporation. All right reserved. www.ikancorp.com
What’s included
RM3-43 Rack Mount Unit
AC Power Adapter
Checked by
GETTING STARTED
1. After assembling the AC power supply by plugging in the power cord
carefully screw the threaded power supply plug into the threaded input on
the back of the RM3-43. The RM3-43 is powered up by switching on the
power switch located on the front of the unit. When on, the red light
located on the front upper right of the RM3-43 indicates the unit has AC
power connected but is not switched on. When the RM3-43 is switched
on the red light is off.
2. Plug the AC power adaptor into a convenient AC power receptacle. The
included power supply is switchable and functions with any input
between 100V to 240V so with the appropriate adaptor will work in
most countries (Check your countries voltage requirements to make
certain they match the included AC adaptor).
3. Plug your video source via a composite male BNC plug into the BNC
female ‘Input’ of one or more of the three RM3-43 onboard monitors.
The RM3-43 has full loop-thru via the ‘Output’ so the signal can be
passed on to another monitor, a video mixer, or a recording deck if
desired.
4. To activate the LED tally, connecting the corresponding pin to ground via
the HD-15 connector.
5. When the RM3-43 is rackmounted the unit can be tilted for a more
comfortable viewing angle.
Page view 0
1 2

Summary of Contents

Page 1 - GETTING STARTED

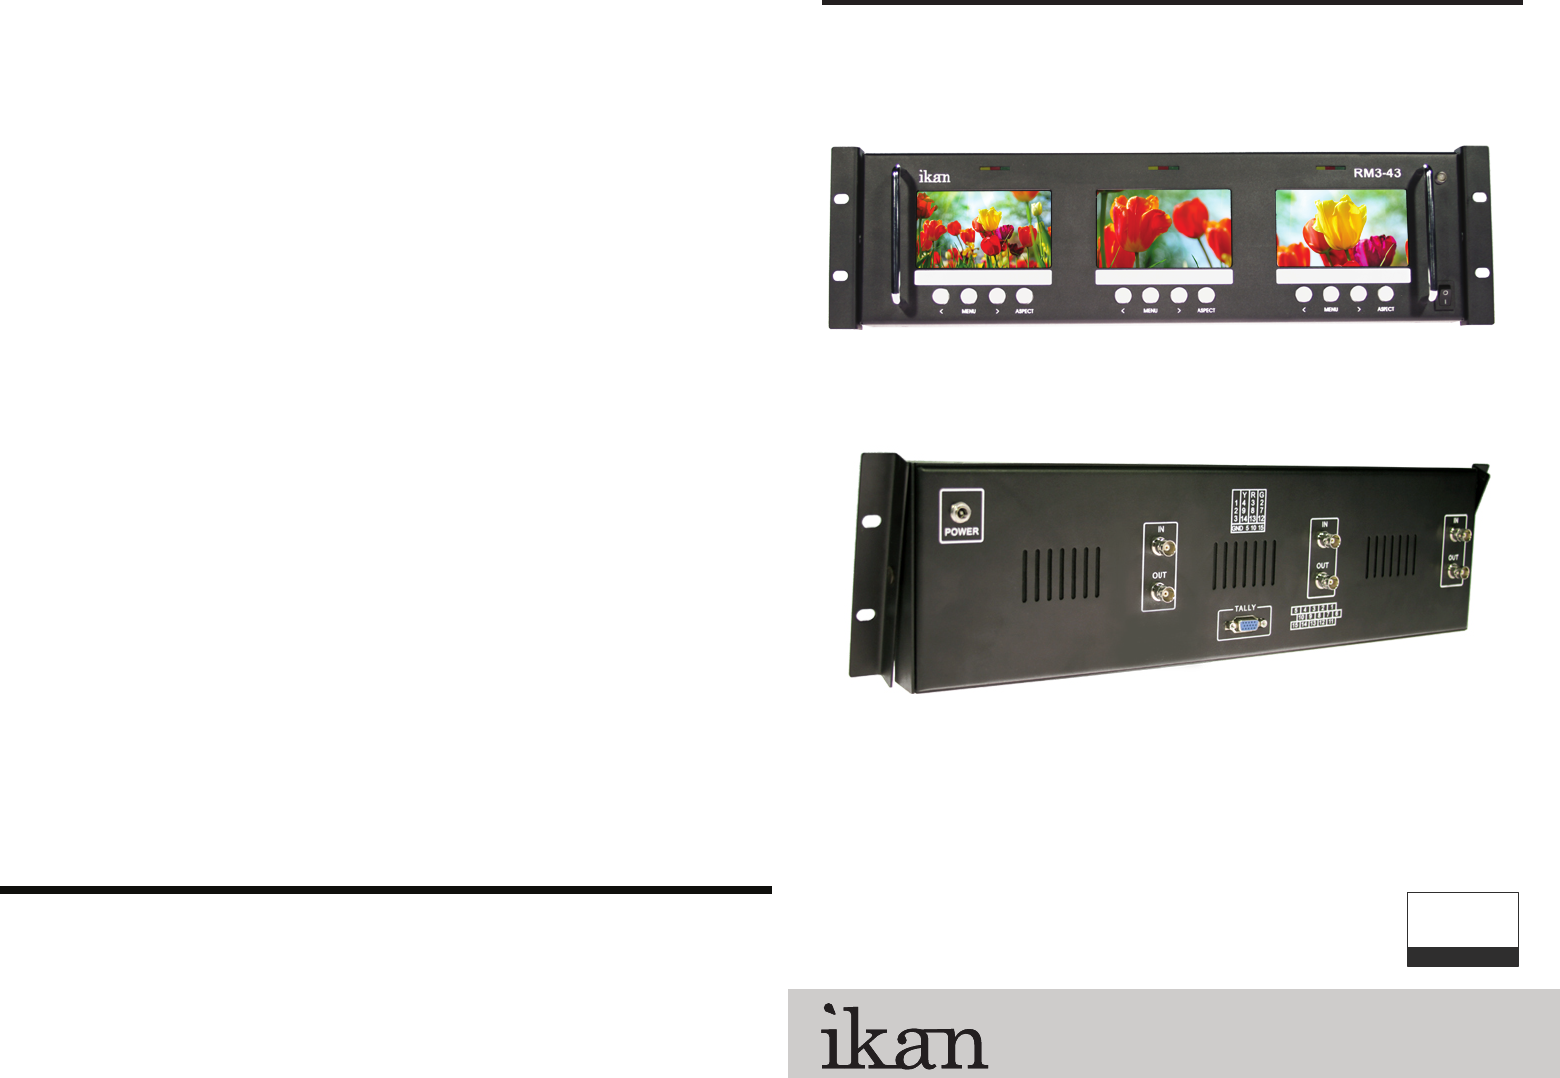
RM3-43Three 4.3" Rack Mount Unit QUICKSTART GUIDEwww.ikancorp.com 713-272-8822 CONDITIONS OF WARRANTY SERVICE • Free service for one year from

Page 2 - 15 14 13 12 11

RM3-43Three 4.3” Rack Mount Unit QUICKSTART GUIDEwww.ikancorp.com 713-272-8822 1Power Sw itchPower ON / OFFPower Indicator LightWhen the power is ON,

Comments to this Manuals

No comments